When I began decorating Charlotte’s nursery, I didn’t have any theme in mind at all. No soft color schemes, no adorable disney characters, no whimsical book quotes that I imagined free-handing in sprawling calligraphy above a changing table. I did what most Moms who are lacking in the creativity department do… I turned to pinterest. I found the color schemes and beautiful bedding, but still no theme…
and then I found this:

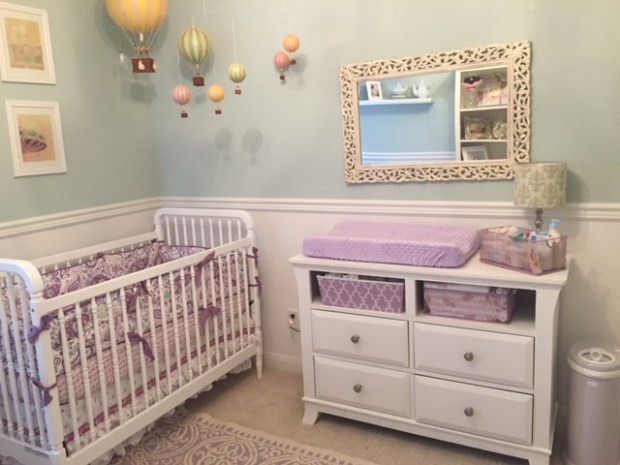
The hot air balloon mobile didn’t exactly become a theme, but I thought they were so perfect and fantastical, I knew it was a thought I’d like to revisit later. And for those wondering, this is how the nursery turned out:

So fast forward beyond the fastest year of my life and my little Pecan is turning 1, so there I was, mindlessly scrolling through pinterest …AGAIN.. in awe of more creative Moms who have gone before me. And there it was… AAAHHHHHHHHHH… like a gold shining light beckoning me to craft it. A life-size hot air balloon. Just look at all the different types…
Just kidding, at first I was like, I’ll just buy one.. but then I saw the price tag and thought- NO WAY. These babies were up to $600 on Etsy. No thanks, not for this lady on a budget.
So I started out on my craft project. The first order of business was the balloon. I didn’t want to do an actual balloon, because I was afraid I’d pop it or it’d fly away before I could secure it to the basket pre-photoshoot.
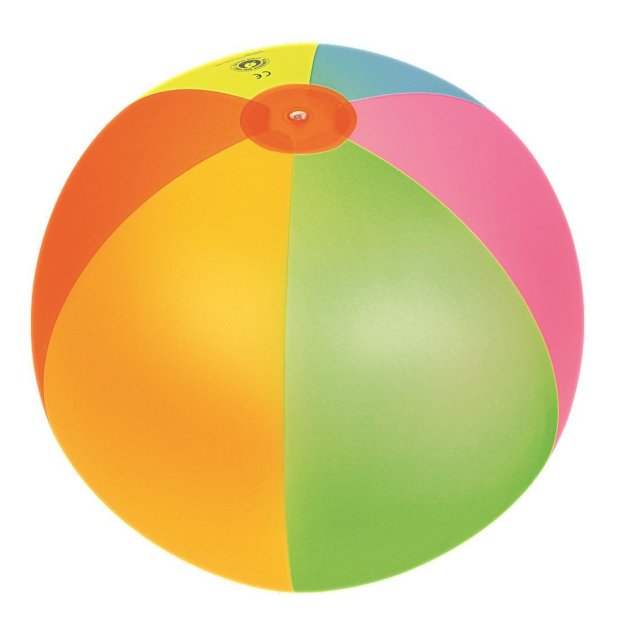
Enter Amazon Beach balls:
I ordered a couple of these for $10 in case one didn’t work:
Then I had to paint it so it looked less-beach bally and more Jules Verne. To achieve the stripes, I taped each stripe in half on the beach wall with painters tape and painted with some craft section acrylic.

Learn from my mistake- I didn’t think this was the right texture or color I want, so I bit the bullet and spray painted it.
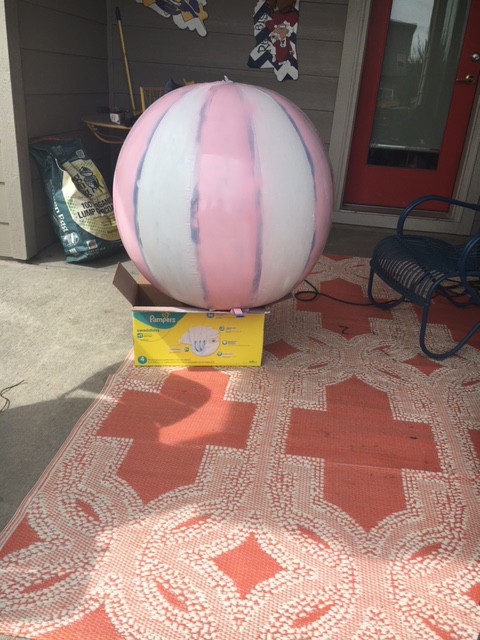
After this, I touched up the stripes left from removing the spray paint with a brush and gold accrylic paint.
Then it was time to attach the balloon to the basket. I found a basket at HomeGoods, like so:
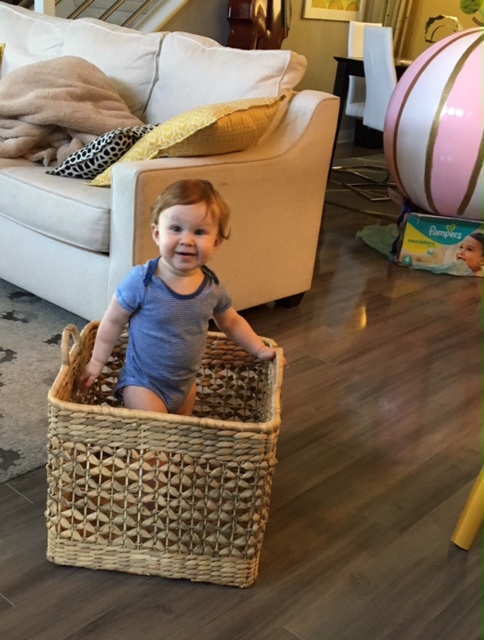
and it fit just right.
so then I purchased dowel sticks at Home Depot- the height here is up to you. I have a tall little one so I got some that were aat least 48″ high ( I can’t remember exactly how tall).
I wired them to the inside of the basket using floral wire and then attached a ring to the top of them. The ring was the only “tricky part”
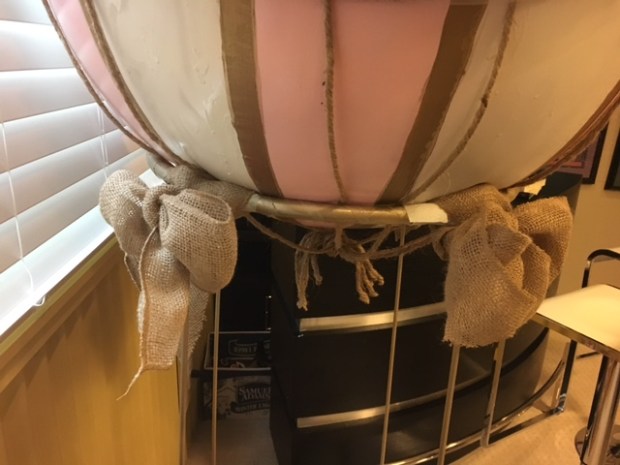
I used a mini hula hoop, spray painted gold and duct tape to fasten the ring to the dowels (that way I could move it in two pieces- basket and globe). Once the hoop was taped to the dowels which I also spray painted gold, I covered the sloppy work with burlap bows. As pictured:

Once the dowels are wired to the bottom inner of the basket, and the hoop is secured to the tops of the dowels and covered with bows, the hoop should sit sturdy enough for the “balloon” beach ball to simply sit in the ring.
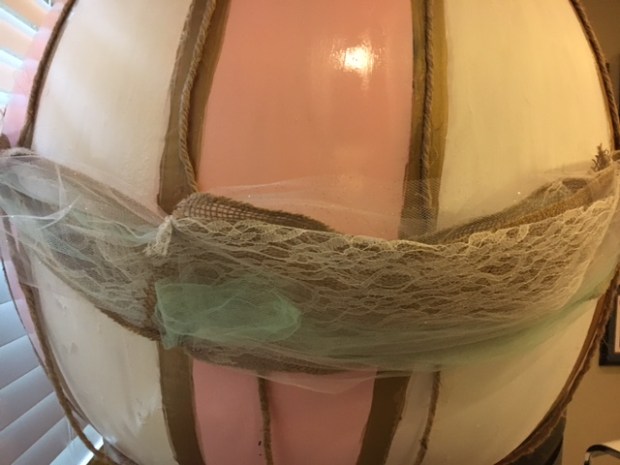
I dressed up the balloon with a little more detailing by using tacky glue and some more wine chord to look like a balloon net. and then I tacky glued some burlap and lace to drap around the balloon like an ornate sash.
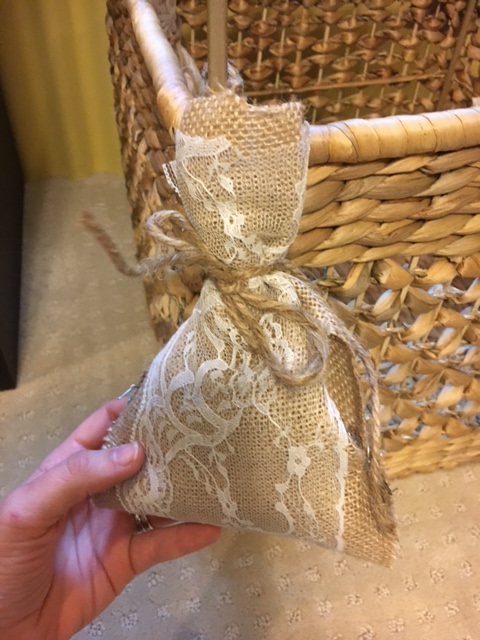
For a little more detailing, I used some of the left over lace and burlap to create some sand bags to tie to the basket with chord:
and you can detail the basket and balloon however you like to dress it up.
Overall, I worked on this balloon around 4 days for an hour or 2 each day. The hardest part is simply gathering the supplies!
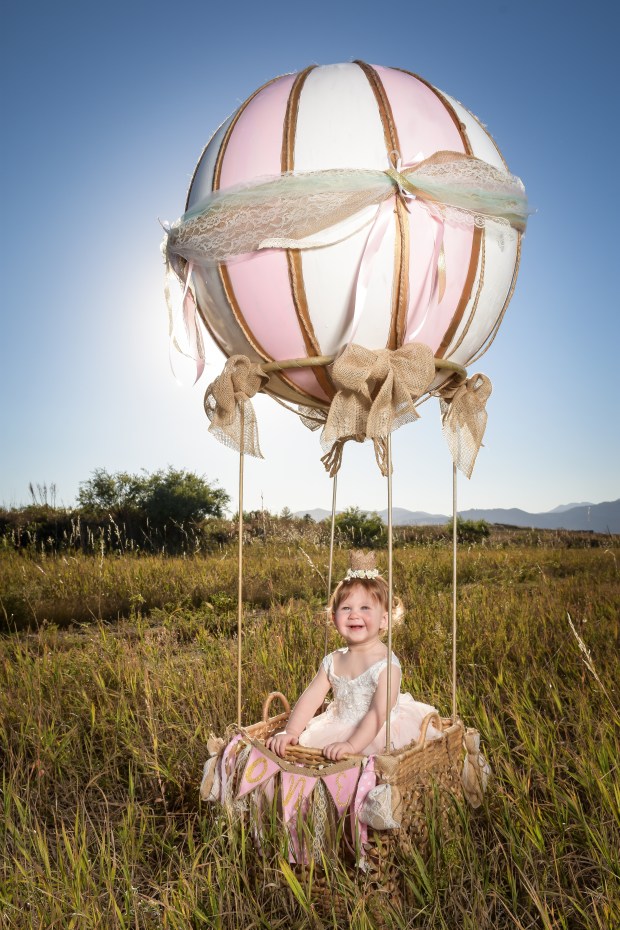
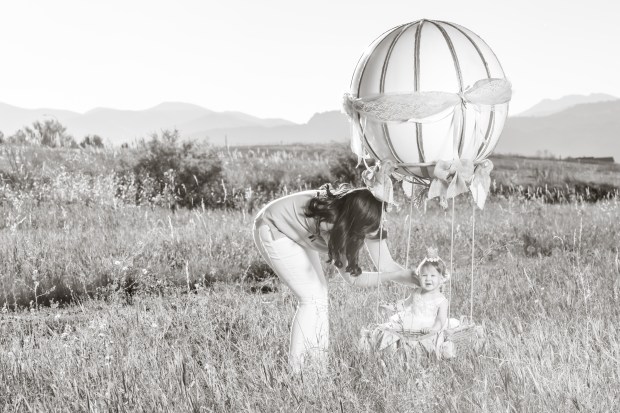
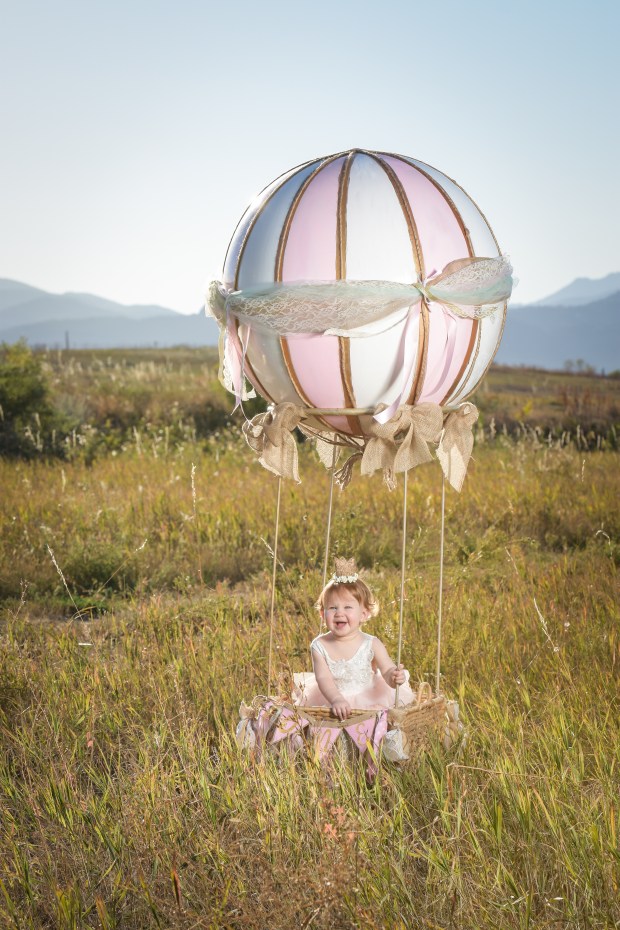
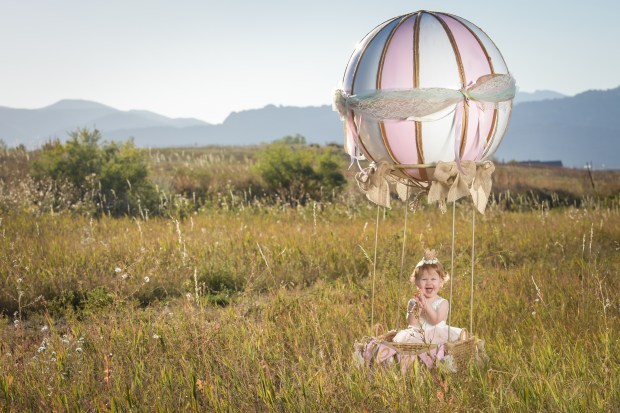
Here is my finished product:
What do you think?